6 Steps to Properly Conduct a Lockout Tagout
When equipment forgoes routine or emergency maintenance — especially when the maintenance is being performed directly on the equipment or within the general vicinity — oftentimes a lockout tagout is required to better ensure workplace safety.
A lockout tagout is the control of hazardous energy through energy control devices. This step in the maintenance process is very important as each year
injuries and fatalities result from the lack of taking proper precautions. It should come as no surprise that “Control of Hazardous Energy (Lockout Tagout)” is one of the Occupational Safety and Health Administration’s
Top 10 Most Cited Standards each year.
How to begin a proper lockout tagout
Before you can properly conduct a lockout tagout, it is crucial to have a basic understanding of hazardous energy and the personnel types associated with the lockout tagout process. From there, you will be able to better understand the six necessary steps of a lockout tagout process.
Understanding hazardous energy
Hazardous energy comes in many forms and originates from various sources. Regardless of its origin, each type shares the potential to cause harm to personnel and those in the surrounding area. Hazardous energy may include:
- Mechanical
- Chemical
- Electrical
- Hydraulic
- Pneumatic
- Thermal
Roles associated with the process
When it comes to lockout tagout, there are two classifications of personnel involved in the process: authorized and affected.
- Affected Personnel - An affected personnel can be defined as a person(s) whose job function is to operate or use the piece of equipment that is currently under lockout tagout. This also includes those who work in an area that the lockout tagout is currently preventing them from accessing. In other words, the job of this person or group has been “affected” by the equipment shutdown.
- Authorized Personnel - An authorized personnel can be defined as a person(s) who locks or tags equipment in order to provide service and maintenance to that equipment or work safely within the area of the equipment. These individuals must receive proper training and are responsible for implementing the lockout tagout procedures.
Steps for conducting a lockout tagout
1. Preparation
The first step to completing a proper lockout tagout is preparing the equipment to be powered off. This involves investigating and identifying all power sources used by the machine and understanding the appropriate procedures necessary to disconnect or eliminate them. This often involves looking at the equipment’s manual or consulting with personnel who are familiar with its workings.
2. Shut Down
After you have properly prepared the equipment for a lockout tagout, physically power off all identified sources of energy, noting that some equipment may require multiple steps to power off. It is vital you notify all affected employees of the impending equipment shutdown
before the shutdown, sharing details such as what equipment will be affected and how long they will be powered off. This will prevent personnel from entering the area or attempting to power on the equipment while others may be in harm’s way.
3. Isolation
The next step for a correct lockout tagout is isolating the machine from all energy sources. Although the power has been removed, you want to further prevent anything from turning back on. This can include closing valves, disconnecting cords, blocking moving parts, flipping circuits, or disengaging lines.
4. LO/TO Application
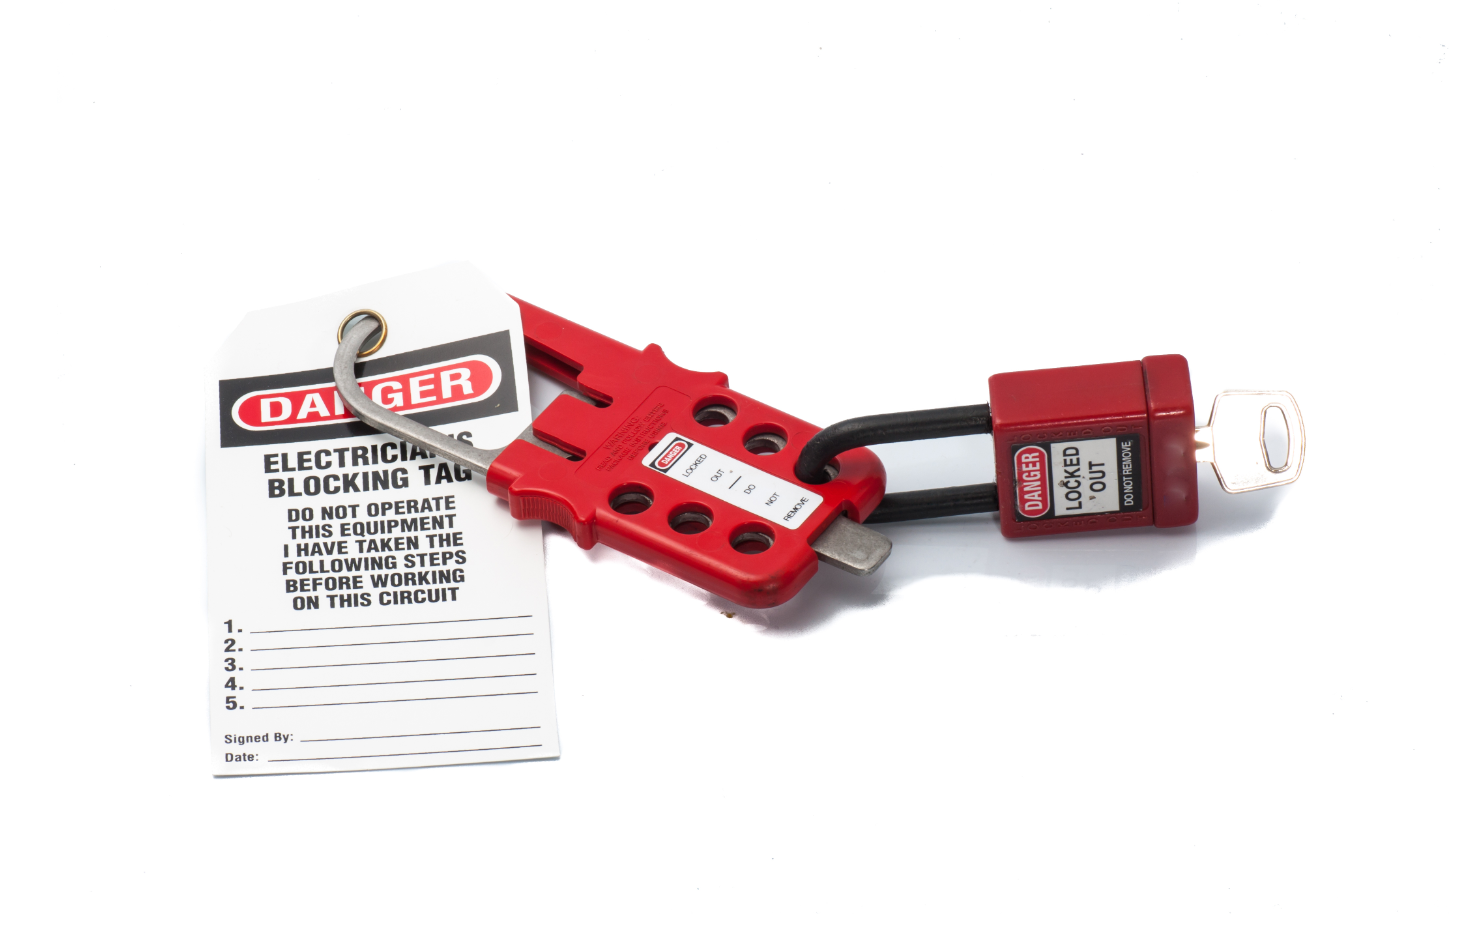
Following machine isolation, complete the locking and tagging of each energy isolation location in the off position. Various devices exist for different pieces of equipment, but they all share the purpose of locking the power transfer in a safe position so it cannot be moved. From there, a lock with a tag indicating who owns it is placed on the device. Each authorized employee should apply their own specific lock and tag. At no time should another employee remove a lock that does not belong to them.
5. Check for Stored Energy
Although equipment has been powered off and the energy sources have been isolated, this does not guarantee all hazardous energy has been eliminated. For example, electrical energy may be stored in a capacitor, or mechanical energy may be stored in a compressed spring. For this reason, the next step in the lockout tagout process should be to check for any stored energy to relieve, restrain or release this stored energy.
6. Isolation Verification
Once the personnel have checked for stored energy, the next step in the lockout tagout process is verifying all prior efforts have been successful. First, ensure all personnel and tools are away from the machine. Then an authorized employee should attempt to power on the equipment. If the lockout tagout was completed properly, the equipment should not move, energize, or produce any other action that would indicate the presence of hazardous energy. If this is the case, work can be safely performed on or near the equipment. If any indications suggested the presence of power, revert to prior steps to identify additional sources of stored or potential energy.
Safely Restoring Power
After the six steps of lockout tagout have been completed and maintenance has been performed, the power of the equipment must be restored. To do this, one must ensure all tools and debris has been removed from the area. Personnel must remove the lockout tagout device(s) from the energy isolation location(s). Notably, the personnel who applied the lock and tag should be the only person to remove the lock and tag to ensure personnel safety and prevent equipment from being powered on while any individuals are still in harm’s way.
Lockout Tagout Assistance
For more information on lockout tagout procedures used in industrial cleaning and
environmental remediation, reach out to EnviroServe. With over 30 years of experience in non-hazardous and
hazardous waste disposal and transportation, our team is trained and certified to meet your company’s needs. Call (800) 488-0910 for help navigating your
waste management requirements today!

